Important Things/Tweaks to do after Install of Ubuntu 12.10 Quantal Quetzal
From noobslab.com (10-18-2012) Ubuntu 12.10 Quantal Quetzal has been released, NoobsLab know what
people want. So after a-lot of work today bring this article for you.
After applying these tweaks you can get better experience with new
Ubuntu. After these tweaks we can say your Ubuntu is ready to use, Every
tweak is tested by NoobsLab. So lets start tweak to your Ubuntu 12.10.
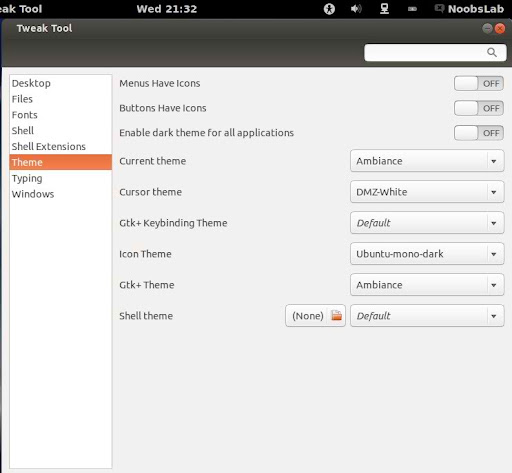
1: Install Gnome-Tweak-tool 3.6:
Gnome Tweak Tool is well-known powerful tweak tool, With this tool you
can manage your Ubuntu environment like: Change theme, icons, fonts,
cursor and so on options.
Install with following command:
- sudo apt-get install gnome-tweak-tool
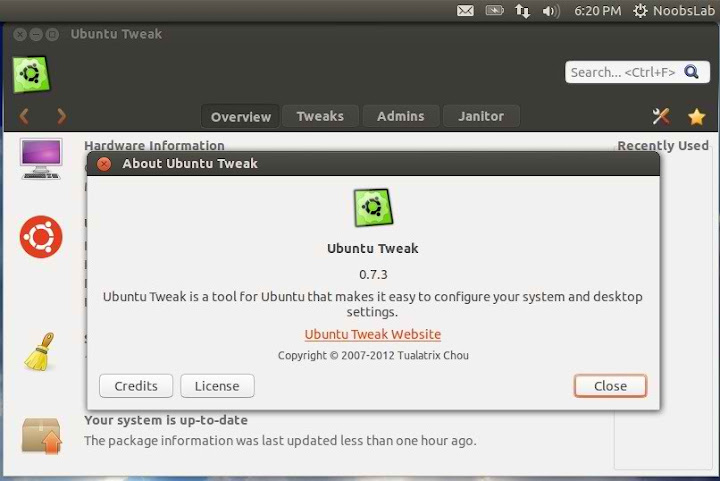
2: Install Ubuntu Tweak:
Ubuntu Tweak is an application designed to config Ubuntu easier for
everyone. It provided many useful desktop and system options that the
default desktop environment isn't provided.
Enter following commands to install Ubuntu Tweak:
- sudo add-apt-repository ppa:tualatrix/ppa
- sudo apt-get update
- sudo apt-get install ubuntu-tweak
Here you can find more tweak tools
Unsettings Tool
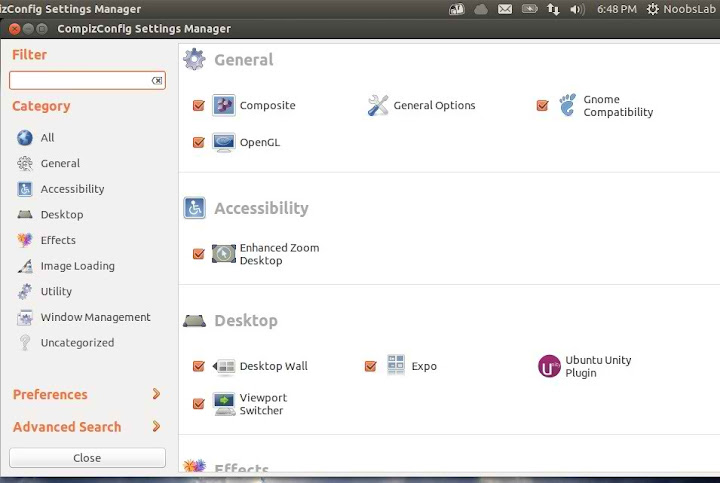
3: Install Compiz (CCSM) and extra plugins:
CCSM, short for CompizConfig Settings Manager, is a configuration tool
for Compiz Fusion. It is used to configure the many plugins included in
Compiz and Compiz Fusion, as well as the use of various profiles and
intergrating better with existing desktop settings.
To install Compiz Config Setting Manager enter following command in Terminal:
- sudo apt-get install compizconfig-settings-manager compiz-plugins-extra
Go to Dash and Search "CCSM"
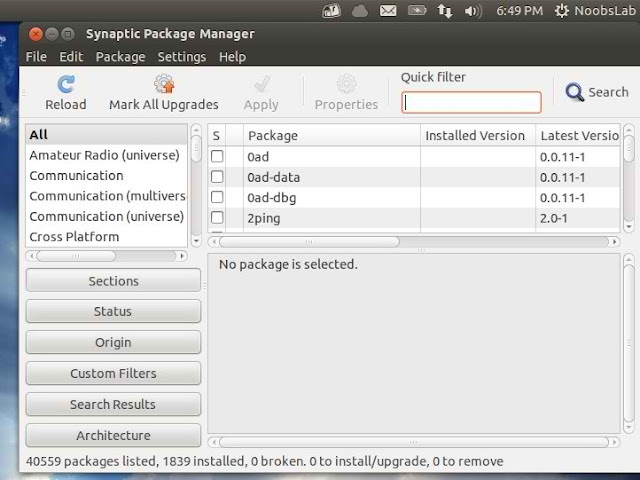
4: Install Synaptic Package Manager:
Synaptic is a graphical package management program for apt. It provides
the same features as the apt-get command line utility with a GUI
front-end based on Gtk+.
To install Synaptic Package Manager enter following command in Terminal:
- sudo apt-get install synaptic
Go to Dash and Search "synaptic"
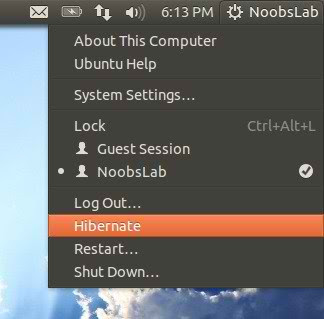
5: Enable Hibernate option:
Ubuntu has disabled hibernate option since last distro 12.04, So here is tweak to enable hibernate in 12.10.
Open Terminal and enter following command:
- sudo gedit /var/lib/polkit-1/localauthority/50-local.d/hibernate.pkla
copy and paste the following code in file:
[Re-enable Hibernate]
Identity=unix-user:*
Action=org.freedesktop.upower.hibernate
ResultActive=yes
Save file and Exit, then Restart and check.
6: Remove White Dots from Ubuntu 12.10 Login Screen
Some People don't like white dots in Ubuntu 12.10 Login screen, So here
is a tweak you can easily remove these dots from login screen.
Enter following commands in Terminal:
- sudo xhost +SI:localuser:lightdm
- sudo su lightdm -s /bin/bash
- gsettings set com.canonical.unity-greeter draw-grid false
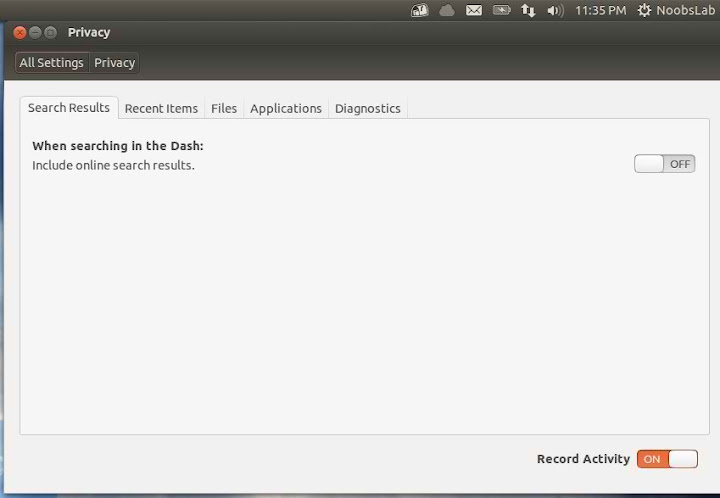
7: Disable Online Search in Dash:
Personally I don't like this online search option in unity. So if anybody want to turn off, follow the method.
Go to Dash and Search "
Privacy" and turn off the online search option.
Alternative remove shopping lens by following command:
- sudo apt-get remove unity-lens-shopping
You will not see anymore online searches in dash.
8: Change HUD Key:
Go to "Dash" System Settings > Keyboard > Shortcuts > Launchers >
Key to show HUD
Click on
Key to show HUD to change key. I set my key Alt+Z because it is easy to press, You can change whatever you want.
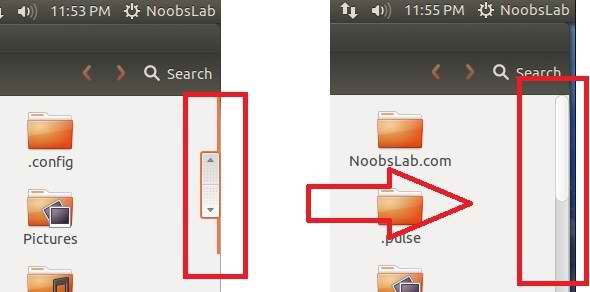
9: Disable overlay Scrollbars:
You can disable overlay scrollbars, if you don't like that.
Enter following command in terminal to disable overlay scrollbar:
- gsettings set com.canonical.desktop.interface scrollbar-mode normal
If you want to get back overlay bar, enter following command:
- gsettings reset com.canonical.desktop.interface scrollbar-mode
10: Show username on panel:
UserName is disabled by default in Ubuntu 12.10, So here is tweak you can enable it very easily.
Enter following command in terminal:
- gsettings set com.canonical.indicator.session show-real-name-on-panel true
To remove name from panel, Enter following command:
- gsettings set com.canonical.indicator.session show-real-name-on-panel false
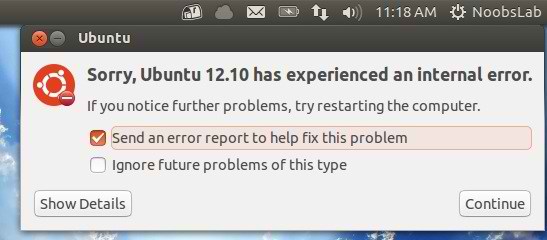
11: Disable System Crash Reports:
If you are experiencing something crashes in your Ubuntu, and you don't
like to notify with reports. You can disable them easily.
Enter following commands to disable crash reports:
- sudo gedit /etc/default/apport
Now text file will open, In the last line you will see "
enabled=1" change it to "
enabled=0". Save and close file.
Now enter following command in terminal to stop apport service:
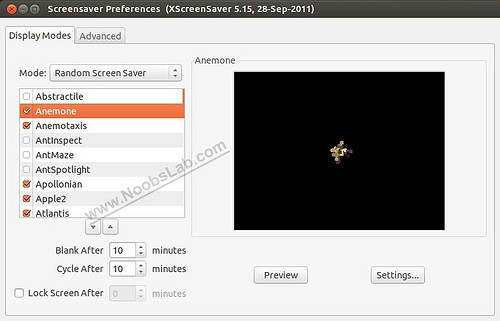
12: Install and enable XScreensaver:
XScreenSaver is a collection of about many free screensavers for Linux.
Install XSreenSaver with following commands:
- sudo apt-get remove gnome-screensaver
- sudo apt-get install xscreensaver xscreensaver-gl-extra xscreensaver-data-extra
create file for autostart enter following command in terminal:
- sudo gedit /etc/xdg/autostart/screensaver.desktop
after that copy and paste the following code in file:
[Desktop Entry]
Name=Screensaver
Type=Application
Exec=xscreensaver -nosplash
Save and Exit the file.
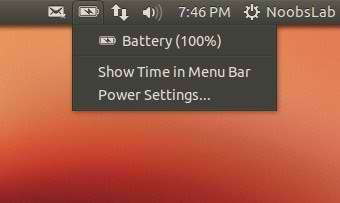
13: Show Laptop Battery Percentage:
This tweak shows laptop battery percentage in the Ubuntu panel.
To install enter following commands in the Terminal:
- sudo add-apt-repository ppa:noobslab/initialtesting
- sudo apt-get update
- sudo apt-get install indicator-power
Then logout and login back.
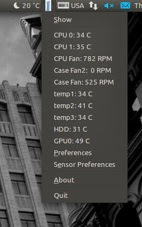
14: Install Hardware Temperature Monitor:
The Psensor Indicator is providing a quick access to sensor values and
settings. When a sensor temperature is too much hot, a desktop
notification bubble appears and the Application Indicator icon is
changed to a red one. Your pc must have sensors to use complete
features.
Enter following command in terminal:
- sudo apt-get install lm-sensors hddtemp psensor
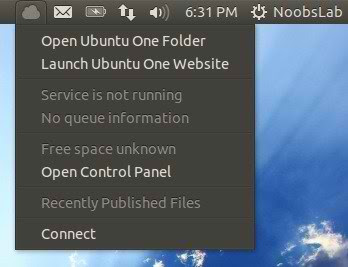
15: Install Ubuntu-One Indicator:
UbuntuOne indicator provides the overview of Ubuntu One Account synchronization state.
To install enter following commands in the Terminal:
- sudo add-apt-repository ppa:noobslab/initialtesting
- sudo apt-get update
- sudo apt-get install indicator-ubuntuone
Then logout and login back.
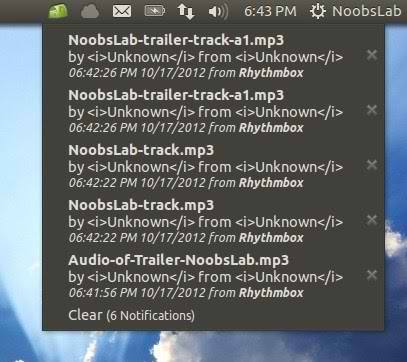
16: Install Recent Notifications Indicator:
Recent Notifications is a GNOME applet that collects recent messages
sent with libnotify to a notification daemon, such as notify-osd.
To install enter following commands in the Terminal:
- sudo add-apt-repository ppa:jconti/recent-notifications
- sudo apt-get update
- sudo apt-get install indicator-notifications
After installation open indicator-notification from Dash.
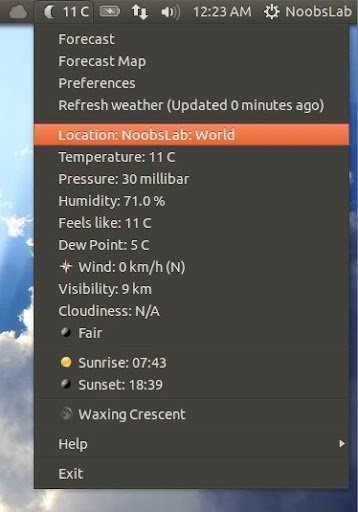
17: Install Weather Indicator:
My-Weather is really cool indicator for Ubuntu, it can show up to two location weather with complete details.
Enter following commands in terminal to install my-weather indicator:
- sudo add-apt-repository ppa:atareao/atareao
- sudo apt-get update
- sudo apt-get install my-weather-indicator
After installation open my-weather-indicator from Dash and configure it.
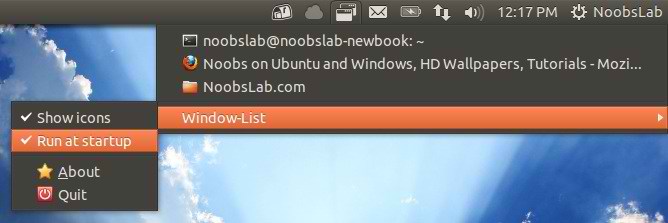
18: Install Window-List Indicator:
This Window-List indicator show which windows are currently open, and you can easily switch between them.
Enter following commands in terminal:
- sudo add-apt-repository ppa:jwigley/window-list
- sudo apt-get update
- sudo apt-get install window-list
After installation go to
Dash and search "
Window-List" then open it. Make it startup from Window-List option.
19: Show all startup apps in Startup Applications:
By Default Startup Application show only few apps in the list, So now
you can see which applications are going to start by following command:
- sudo sed -i 's/NoDisplay=true/NoDisplay=false/g' /etc/xdg/autostart/*.desktop
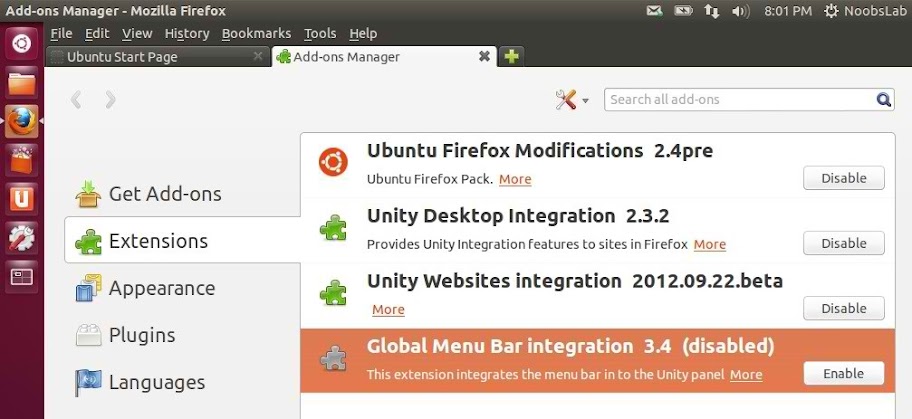
20: Disable Global Menu:
If you don't like Global menu then you can disable it easily.
Enter following command in Terminal:
- sudo apt-get autoremove appmenu-gtk appmenu-gtk3 appmenu-qt
and restart.
To disable Global Menu for Firefox, Go to 'Tools' –> 'Add-ons' –> 'Extensions' and
Disable 'Global Menu Bar integration'
To revert the changes enter following command in Terminal:
- sudo apt-get install appmenu-gtk appmenu-gtk3 appmenu-qt
then restart.
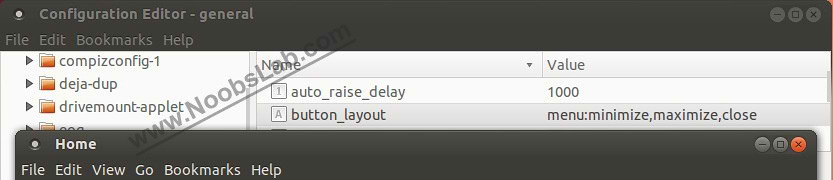
21: Move Minimize, Maximize, Close Buttons to Right:
This tweak is about to move Minimize, Maximize, and Close buttons to the right side.
Enter following command to move buttons to right:
- gconftool-2 --set /apps/metacity/general/button_layout --type string menu:minimize,maximize,close
Alternative Method
Enter following commands in Terminal to install gconf-editor:
- sudo apt-get install gconf-editor
now start gconf-editor with following command:
Go to the following: 'apps' -> 'metacity' -> 'general' Find the "
button_layout" parameter,
Right mouse click, and select Edit Key.
Change the value to the following:
menu:minimize,maximize,close then Press Enter.
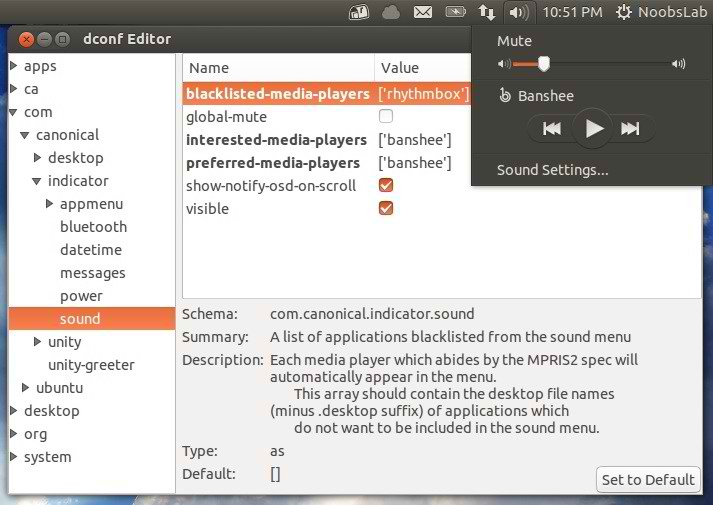
22: Add other Media Player to Ubuntu Sound Menu
If you are using different audio player to player audio files then you can add player in sound menu with following method.
Enter following command in terminal to install Dconf-Tools:
- sudo apt-get install dconf-tools
Go to
Dash and open "
Dconf-Editor"
Type your Player name in (interested-media-player +
preferred-media-player) and you can remove any media player by writing
name in (blacklisted-media-players). See following image
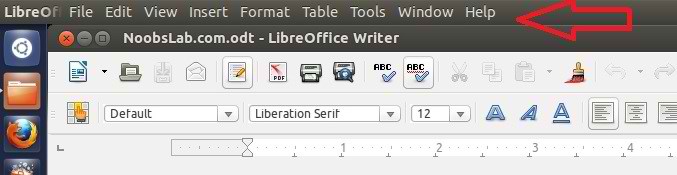
23: Enable Global Menu for LibreOffice in Ubuntu 12.10
By default LibreOffice doesn't support global menu, So you can enable Global Menu easily for LibreOffice.
Enter following command in terminal to install global menu.
- sudo apt-get install lo-menubar
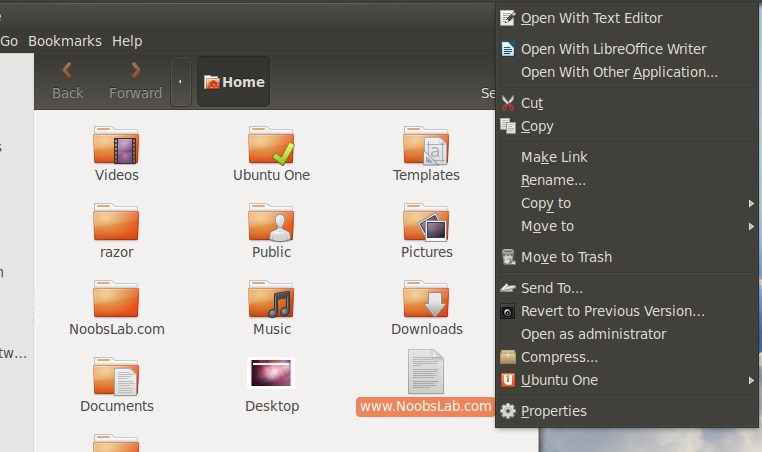
24: Open as Administrator in Ubuntu 12.10 Quantal Quetzal
This is really cool tweak for those who want to open file and folder
with Administrator permissions, So now it is really easy to do.
To add "Open as Administrator" entry enter following commands in Terminal:
- wget http://dl.dropbox.com/u/53319850/NoobsLab.com/libnautilus-gksu.so
- sudo cp libnautilus-gksu.so /usr/lib/nautilus/extensions-3.0/ && sudo rm libnautilus-gksu.so
After that enter following command:
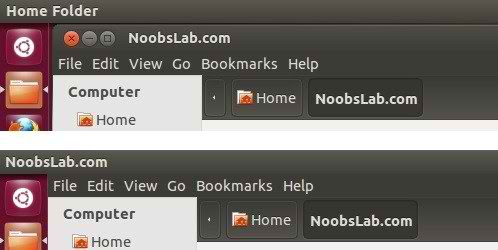
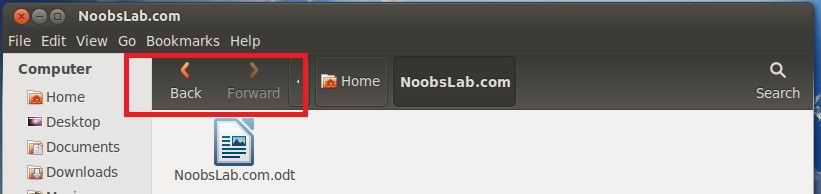
25: Move Nautilus Forward & Back button to Left Side:
To move these buttons to left side just follow steps:
Open Terminal (Press
Ctrl+Alt+T) and copy the following commands in the Terminal:
- sudo apt-get install -y dpkg-dev
- mkdir ~/Desktop/nautilus-mod
- cd ~/Desktop/nautilus-mod
- sudo apt-get update
- apt-get source nautilus
- sudo apt-get build-dep nautilus
- cd ~/Desktop/nautilus-mod/nautilus-3*
- gedit src/nautilus-toolbar.c
Now, scroll down to line 130 or Find for "
gtk_toolbar_insert (GTK_TOOLBAR (self->priv->toolbar), item, 0)" and change the "
0" to a "
2". So change the original line from:
gtk_toolbar_insert (GTK_TOOLBAR (self->priv->toolbar), item, 0);
To:
gtk_toolbar_insert (GTK_TOOLBAR (self->priv->toolbar), item, 2);
When you're done, click save and close Gedit.
Now Back in Terminal, run the following:
- ./configure --prefix=/usr
- make
- sudo killall nautilus
- sudo make install
Now logout and login back or restart.
To undo the changes and revert back to stock Nautilus, you can simply run following command:
- sudo apt-get --reinstall install nautilus
For Unity If SomeThing Went Wrong Enter following commands to Reset:
>> to reset the Unity:
- sudo apt-get install dconf-tools
- dconf reset -f /org/compiz/
- setsid unity
- git clone https://github.com/phanimahesh/unity-revamp.git
- cd unity-revamp
- chmod +x unity-reset.py
- ln -s ./unity-reset.py /usr/bin/unity-reset
Then run in terminal:
- unity-reset
>> to reset Compiz:
- gconftool-2 --recursive-unset /apps/compiz-1 unity --reset
26: Enable Hardware Drivers:
In Ubuntu 12.10 Quantal "Additional Drivers" location has been changed,
You can choose best drivers for your hardware from additional driver and
can enable/disable from there easily.
Open Dash and Search for "Software Sources" Here you can find "Additional Drivers" in the last Tab.
27: Install Adobe Flash Plugin:
By default firefox doesn't install flash player, So now you can install flash player.
Open Terminal and enter following commands:
- sudo apt-add-repository "deb http://archive.canonical.com/ $(lsb_release -sc) partner"
- sudo apt-get update && sudo apt-get install flashplugin-installer
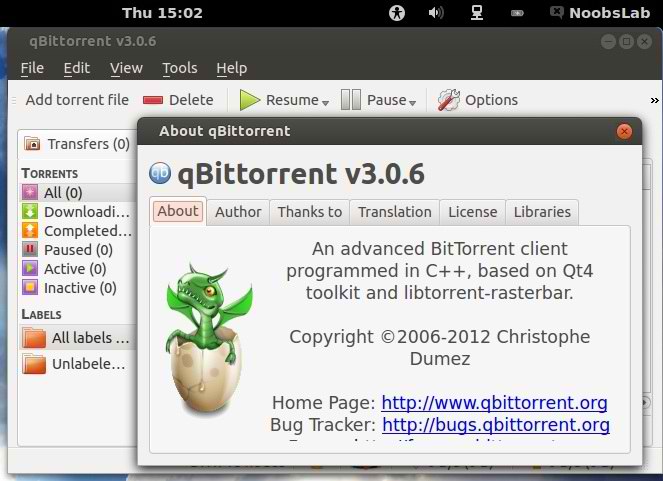
28: Install qBittorrent:
I
think everybody like to download from torrents, It is safe and easy
method to download. So you can install qBittorrent with following
commands:
- sudo add-apt-repository ppa:noobslab/initialtesting
- sudo apt-get update
- sudo apt-get install qbittorrent
29: Install Plugins for Rhythmbox (Like Equalizer):
Rhythmbox is default Audio player in Ubuntu 12.10, You can install
plugins for rhytmbox. Plugins are: Audio-read, Album-art-search,
Countdown-playlist, plugin-cover-art-browser, Equalizer,
Jump-to-Playing, Jump-to-Window, lyrics, micro-blogger,
open-containing-foler, radio-browser, Random-album-player,
Remember-the-rhythm, repeat-one-song, rhythm-web, send-first,
small-window, stop-after, suspend, tab-guitar, tray-icon, web-menu,
stream-ripper
Enter following commands to install plugins.
- sudo add-apt-repository ppa:fossfreedom/rhythmbox-plugins
- sudo apt-get update
- sudo apt-get install rhythmbox-plugin-complete
After installation open Rhythmbox and Go to "Edit" -> "Plugins" and enable plugins.
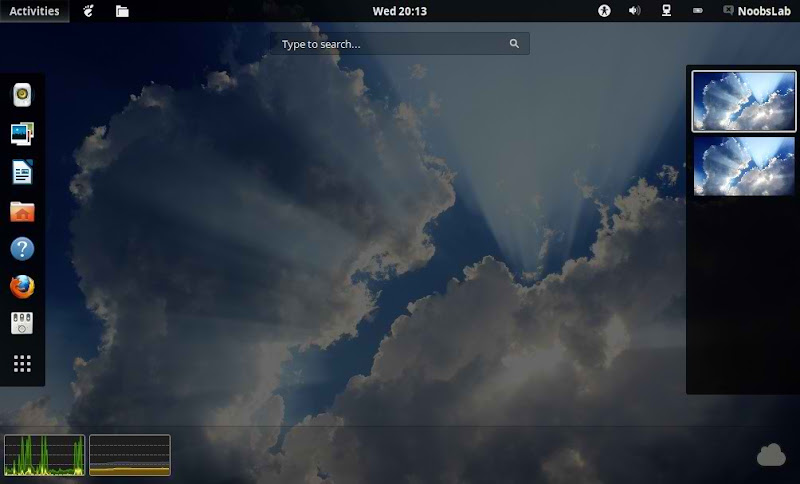
30: Install Gnome Shell 3.6:
Install latest Gnome Shell 3.6 in 12.10
Enter Following commands to install Gnome-Shell 3.6:
- sudo add-apt-repository ppa:ricotz/testing
- sudo add-apt-repository ppa:gnome3-team/gnome3
- sudo apt-get update
- sudo apt-get install gnome-shell
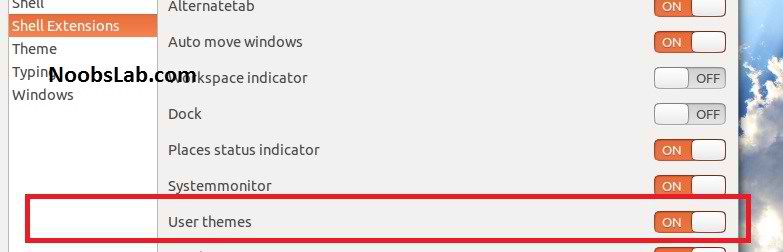
31: Install User-Theme and other Extensions in Gnome Shell 3.6:
With User-Theme Extension you can enable Gnome Shell 3.6 themes in Gnome-Tweak-Tool.
Now Restart Gnome Shell (Press
Alt+F2 and type '
r') and enable User Themes Extension, again Restart Gnome Shell.
Themes Enabled
Install
official extension in 12.10, Following extensions will install:
Alternative Status Menu, Native Window Placement, Alternative Tab, Auto
Move Windows, Workspace Indicator, Dock, Places Status Indicator, System
Monitor, Gajim IM Integration, User Themes, Removable Drive Menu,
Window Navigator, Applications Menu.
Enter following command to Install Gnome Shell 3.6 Extensions:
- sudo add-apt-repository ppa:noobslab/gnome
- sudo apt-get update
- sudo apt-get install gnome-shell-extensions
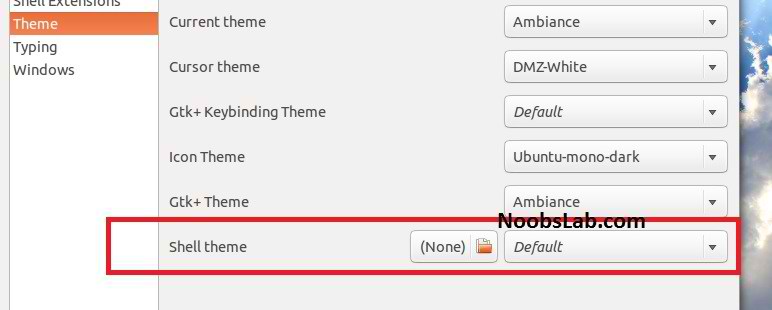
After Installation Press
Alt+F2 and type '
r' to restart Gnome Shell, or just logout and login back. Open Gnome Tweak Tool to change/install shell Themes.
32: Install Restricted Extras:
There are some Restricted extras in Ubuntu which can't be install while
installation of Ubuntu by default but you can install these Restricted
extras by yourself. Restricted mp3 playback and decoding, support for
various formats, fonts, java, flash plugin, lame, dvd playback.
- sudo apt-get install ubuntu-restricted-extras
33: Install Codecs:
If you are multimedia user and use Ubuntu for multimedia then these
codecs are very useful for you. You can install them by single command.
- sudo apt-get install
gstreamer0.10-plugins-ugly gstreamer0.10-ffmpeg libxine1-ffmpeg gxine
mencoder libdvdread4 totem-mozilla icedax tagtool easytag id3tool lame
nautilus-script-audio-convert libmad0 mpg321
34: Install Compression/Decompression tools:
You can compress and decompress 7z, zip, gzip, rar, xz, tar, bz2, xar, tar.gz, tar.bz, and many others.
Enter following command in terminal to install:
- sudo apt-get install p7zip-rar p7zip-full unace unrar zip unzip sharutils rar uudeview mpack lha arj cabextract file-roller
35: Install Other Environments:
>> Install Kde Plasma Desktop
Enter following command to install Kde-Plasma-Desktop:
- sudo apt-get install kde-plasma-desktop
>> Install Lubuntu Desktop
Enter following command in terminal to install Lubuntu-Desktop
- sudo apt-get install lubuntu-desktop
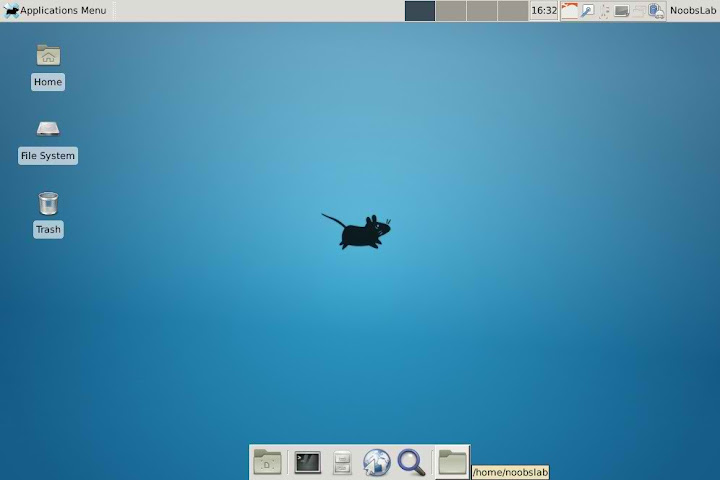
>> Install XFCE4 Desktop
Enter following command to install XFCE4 Desktop:
- sudo apt-get install xfce4
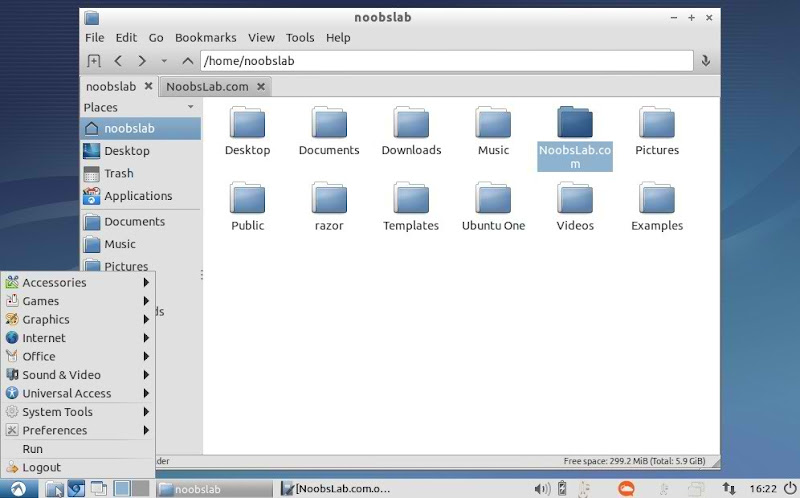
>> Install Cinnamon
>> Install Razor-qt
36: Misc/Softwares for Ubuntu 12.10 Quantal Quetzal:
Install Latest Google Chrome
Install Latest Skype
Install Latest WineHQ (Windows Program Loader)
Install and Configure Samba Sharing between Windows and Ubuntu
Install Latest Nvidia Drivers (Only for those who own Nvidia Card)
Source:
http://www.noobslab.com/2012/10/important-thingstweaks-to-do-after.html
Things You Do After Installing Ubuntu 12.10- 10-22-2012 (from WebUpd8)
If you've been following WebUpd8 for a
while, you've probably noticed that we used to make a post with things
to tweak after each Ubuntu release (here are the
12.04 and
11.10 posts). This time, let's do things differently!
I'm using Firefox because it works better for me with a large number of open tabs (especially since there's an
). I only use three addons:
(adds a a small badge to your tabs to alert you when you have notifications for websites like Facebook, Google Plus, etc.) and
.
I was telling you there are some applications which I can't live without. Well, many of them are appindicators:
Of course, the list can get very long, but I'm trying to stick with the basics here.