January 27, 2022

How To Fix Broken Ubuntu OS Without Reinstalling It

Just in case if your Ubuntu system is crashed due to power failure or network connectivity issue in the middle of the Upgrade process, you might end up with broken Ubuntu Linux. In such cases, you can easily fix broken Ubuntu OS without reinstalling it from scratch, and also without losing data as described below.

Introduction

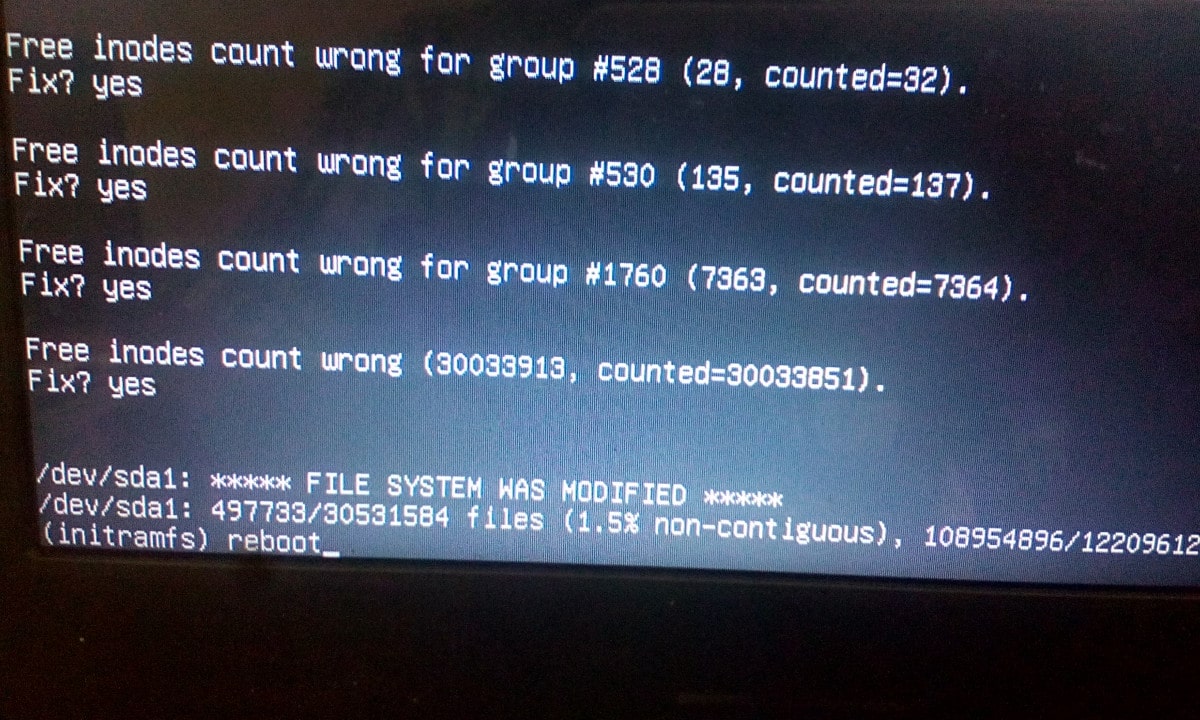
Today, I was upgrading my Ubuntu LTS system. Unfortunately, the power has gone in the middle of the upgrade process and the system is powered off while upgrading packages.

When the power is back, I did boot the system again. Right after entering the login password in my Ubuntu system, it's gone blank and didn't respond. Keyboard and mouse also didn't work.

All I see is just a blank screen! Thankfully, It's just a test machine and there were no important data in it. I can simply wipe off the entire OS and install Ubuntu again.

But, I don't want to do that. Since I got nothing to lose, I just wanted to repair my broken Ubuntu system without reinstalling it completely. To my luck, it worked!!!

Now let us see how to recover the broken Ubuntu Linux system, without reinstalling it.

Fix broken Ubuntu OS without reinstalling it

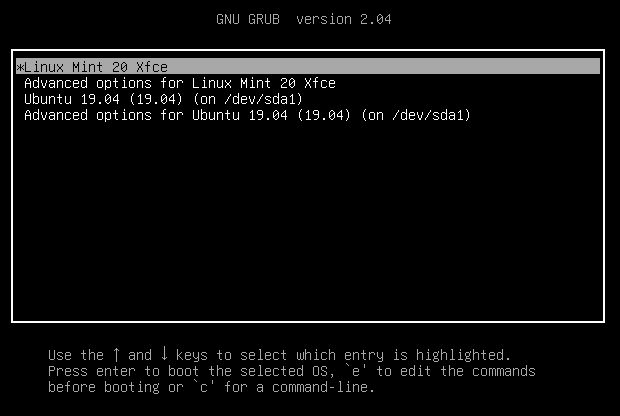
1. First of all, try to login with live cd and backup your data in an external drive. Just in case, if this tutorial didn't work, you can still have your data and reinstall everything!

2. At the login screen, press CTRL+ALT+F1 to switch to tty1. You can learn more about switching between TTYs here.

3. Now, type the following commands one by one to fix the broken Ubuntu Linux:

$ sudo rm /var/lib/apt/lists/lock
$ sudo rm /var/lib/dpkg/lock
$ sudo rm /var/lib/dpkg/lock-frontend
$ sudo dpkg --configure -a
$ sudo apt clean
$ sudo apt update --fix-missing
$ sudo apt install -f
$ sudo dpkg --configure -a
$ sudo apt upgrade
$ sudo apt dist-upgrade

4. Finally, reboot the system using command:

$ sudo reboot

You can now be able to login to your Ubuntu system as usual.

After I followed these steps, all the data in my Ubuntu system were intact and everything was in the same way as I left it.

This method may not work for everyone. However, this small tip worked for me and saved a couple minutes from reinstalling my Ubuntu system from scratch.

If you know any other better way, please let me know in the comment section. I will add them in this guide as well.

January 26, 2022

How To Fix Initramfs Error On Ubuntu


This brief guide explains how to fix Busybox Initramfs error on Ubuntu Linux. I use Ubuntu 20.04 LTS as my daily driver on my Dell Inspiron laptop. Today I turned it on and the boot process dropped to the BusyBox shell and I ended up at the initramfs prompt.

As far as I can remember, I did nothing wrong. I didn't forcibly power off it. It was working just fine yesterday! When I switched it on today, I landed in the BusyBox shell:

BusyBox v1.30.1 (Ubuntu 1:1.30.1-4ubuntu6.1) built-in shell (ash) 
Enter 'help' for a list of built-in commands.

(initramfs)

I can't get past this screen. Also it doesn't show what exactly the problem is. All I see is just a blank busybox shell.

I wasn't sure what to do at this point. So I simply passed the exit command to see what happens.

And then I saw the actual error:

(initramfs) exit
/dev/sda1 contains a file system with errors, check forced.
Inode 4326476 extent tree (at level 1) could be narrower, IGNORED.
/dev/sda1: Inode 4326843 extent tree (at level 1) could be narrower, IGNORED.
/dev/sda1: Inode 4327012 extent tree (at level 1) could be narrower, IGNORED.
/dev/sda1: Inode 4329004 extent tree (at level 1) could be narrower, IGNORED.
/dev/sda1: Inodes that were part of a corrupted orphan linked list found.

/dev/sda1: UNEXPECTED INCONSISTENCY; RUN fsck MANUALLY.
        (i.e., without -a or -p options) 
fsck exited with status code 4. 
The root filesystem on /dev/sda1 requires a manual fsck. 

BusyBox v1.30.1 (Ubuntu 1:1.30.1-4ubuntu6.1) built-in shell (ash)
Enter 'help' for a list of built-in commands.

(initramfs)
Busybox Initramfs Error On Ubuntu

As you can see in the above output, the /dev/sda1 partition is corrupted. The file system in this partition has some errors. If you ever encountered with this type of problem, you need to check and repair the problematic Linux filesystems with fsck command.

Please note that sometimes you don't see any errors after typing the exit command. In that case, try to run fsck on all filesystems.

For those wondering, BusyBox is software suite that provides many common UNIX utilities into a single small executable. It provides replacements for most of the utilities you usually find in GNU fileutils, shellutils, etc.

Initramfs is an initial ram file system based on tmpfs. It contains the tools and scripts required to mount the file systems before the init binary on the real root file system is called.

Fix Busybox Initramfs Error On Ubuntu Linux

1. To solve initramfs error on Ubuntu Linux, you need to repair the filesystem in the corrupted partition using fsck command like below:

(initramfs) fsck /dev/sda1 -y

Replace /dev/sda1 with your partition name. In your system, it could be /dev/sdb1, /dev/sdc1 etc. You can use cat /proc/partitions or blkid commands to get your Linux partition details in Busybox.

2. Now the fsck command will start to fix all bad blocks automatically in the filesystem.

After a couple minutes, you will see an output like below:

/dev/sda1: ***** FILE SYSTEM WAS MODIFIED *****
/dev/sda1: 497733/30531584 files (1.5% non-contiguous), ........

3. Next, type reboot and hit ENTER to restart your system!

(initramfs) reboot
Fix Busybox Initramfs Error On Ubuntu Linux

If the reboot command doesn't work, type exit and hit ENTER.

Cross your fingers and wait for the system to reboot! If all went well, your system will boot normally without any problem.

These steps helped me and many others (see the comment section below) to solve Busybox Initramfs error on Ubuntu Linux operating system. If you are stuck in initramfs prompt, this guide will definitely help.

Heads Up: If you keep getting this error often, probably your hard disk is getting weaker. In that case, it is recommended to backup the data and replace the hard disk as soon as possible.


If your Ubuntu system is crashed due to power failure or network connectivity issue in the middle of the upgrade process, you might end up with broken Ubuntu. In that case, you can easily fix broken Ubuntu without reinstalling it as described in the following guide.
How To Fix Broken Ubuntu OS Without Reinstalling It


Source: https://ostechnix.com/how-to-fix-busybox-initramfs-error-on-ubuntu/


January 7, 2022

Linux Mint 20.3: here is what is new

 By Martin Brinkmann,Jan 6, 2022

The Linux Mint team started to push the final stable ISO images of Linux Mint 20.3 to its distribution network. The final release comes weeks after the release of Linux Mint 20.3 Beta releases. Read on to find out what is new and changed in the new versions of the popular Linux distribution.

linux mint 20.3 release

Linux Mint 20.3 is a long-term support release, which means that the distribution is supported until 2025. The new version of Linux Mint is available in all three flavors -- MATE, Xfce and Cinnamon -- as usual.

A blog post on the official Linux Mint blog reveals that the new version will be made available as a free download and upgrade, from Linux Mint 20.2, this week. Some mirrors have the new ISO images already, but it will take some time before the release can be announced officially on the site.

Linux Mint 20.3: important links

The release notes list known issues and bugs, the new features links reveal what is new in the particular environment.

  • Linux Mint 20.3 features Cinnamon 5.2, a Linux kernel 5.4 and an Ubuntu 20.04 package base.
  • Linux Mint 20.3 features MATE 1.26, a Linux kernel 5.4 and an Ubuntu 20.04 package base.
  • Linux Mint 20.3 features Xfce 4.16, a Linux kernel 5.4 and an Ubuntu 20.04 package base.

Linux Mint 20.3: new features

The IP TV player Hypnotix received an update in this release. It displays flags now to make it easier to find regional IP TV stations, and a search, which also helps find channels, movies and series using it. Hypnotix supports the Xtream API next to m3u and local playlists.

thingy

The new document manager Thingy makes an appearance in Linux Mint 20.3. It lists recently opened documents as well as favorites, and keeps track of reading progress.

A search function has been added to the Sticky Notes application to filter notes quickly. Linux Mint users who use the Sticky Notes application may also notice a changed look as the title is now embedded within the note. The app features a new option to control the site of text.

The Linux Mint 20.3 theme features several changes according to the release notes:

Linux Mint 20.3 features an updated look and feel with larger titlebar buttons, rounded corners, a cleaner theme and support for dark mode.

All three desktop environments feature the changes. The "what is new" posts go into great detail and you may want to check these out for a full rundown on the changes. One particular change that needs mentioning is that support for displaying select applications in dark mode while dark mode is not enabled on the desktop.  Four applications, Celluloid, Hypnotix, Xviewer, Gnome Terminal and Pix, support this out of the box.

Linux Mint users who prefer the older style of the desktop may enable the Mint-Y-Legacy theme to restore the previous theme that was used by the Linux distribution.

Cinnamon 5.2's calendar applet features multi-calendar events, which events using the same color as the calendar they belong to for easy recognition. The applet supports online calendars and syncing.

The file manager Nemo has a new feature that adds an option to file copy or move conflicts. Besides the already existing options to skip, ignore or overwrite old ones, it is now possible to have files renamed automatically.

Cinnamon features the following improvements in the new release next to that:

  • Increased support for right-to-left languages in the sound and menu applets and in the window settings
  • NVIDIA Optimus: Support for PrefersNonDefaultGPU field in .desktop files
  • nemo: The clipboard content no longer vanishes if the nemo process dies
  • grouped-window-list applet: icon fix for certain applications (virtualbox)
  • nemo-media-columns: m4a and audio mp4, composer and description columns
  • sound applet: support for base64 URI album art
  • nemo-actions: support for UriScheme
  • capi.py: Support for non x86 architecture
  • menu applet: all applications shows an icon
  • settings daemon: trackball support
  • accessibility: new Alt+Super+S shortcut to active the screen reader
  • Support for 3x fractional scaling when the hardware allows it
  • nemo: xls2csv fixed

Other changes:

  • HPLIP 3.21.8 introduces support for the latest HP printers and scanners.
  • IPP-USB and sane-airscan were backported and may be an option if scanners or printers won't work out of the box.
  • Xreader PDF received manga reading support; this includes right-to-left mode and inverted cursor keys so that the left-arrow key goes forward in a document.
  • The image viewer Xviewer has a new control to fit the image to the height or width of the image.
  • The text editor Xed supports Ctrl-Tab and Ctrl-Shift-Tab to switch tabs.
  • Xed and Xreader support hiding the menubar.
  • Xreader does not show its toolbar anymore in fullscreen mode.
  • System reports run once per day instead of once per hour to save battery.
  • The WebApp manager displays the browser that is used for particular applications.
  • Bluetooth can be turned on or off from the Bluetooth tray menu.


    Source: https://www.ghacks.net/2022/01/06/linux-mint-20-3-here-is-what-is-new/

How to theme the Mint 20.X Grub menu


How to theme the Grub menu

For compatibility reasons, some releases sometimes ship without a Grub theme:

_images/grub.png

You can make it look like this:

_images/grub2-theme-mint.png

To do so, open a terminal and type:

apt install --reinstall -o Dpkg::Options::="--force-confmiss" grub2-theme-mint

Or if you have a HiDPI screen, type this instead:

apt install --reinstall -o Dpkg::Options::="--force-confmiss" grub2-theme-mint-2k


Source: https://linuxmint-user-guide.readthedocs.io/en/latest/grub.html